Beginner's Guide to Reading Avalanche Bulletins for Non-Skiers
Avalanche bulletins aren't just for skiers. Here's how to read the danger rating, elevation bands, slope...

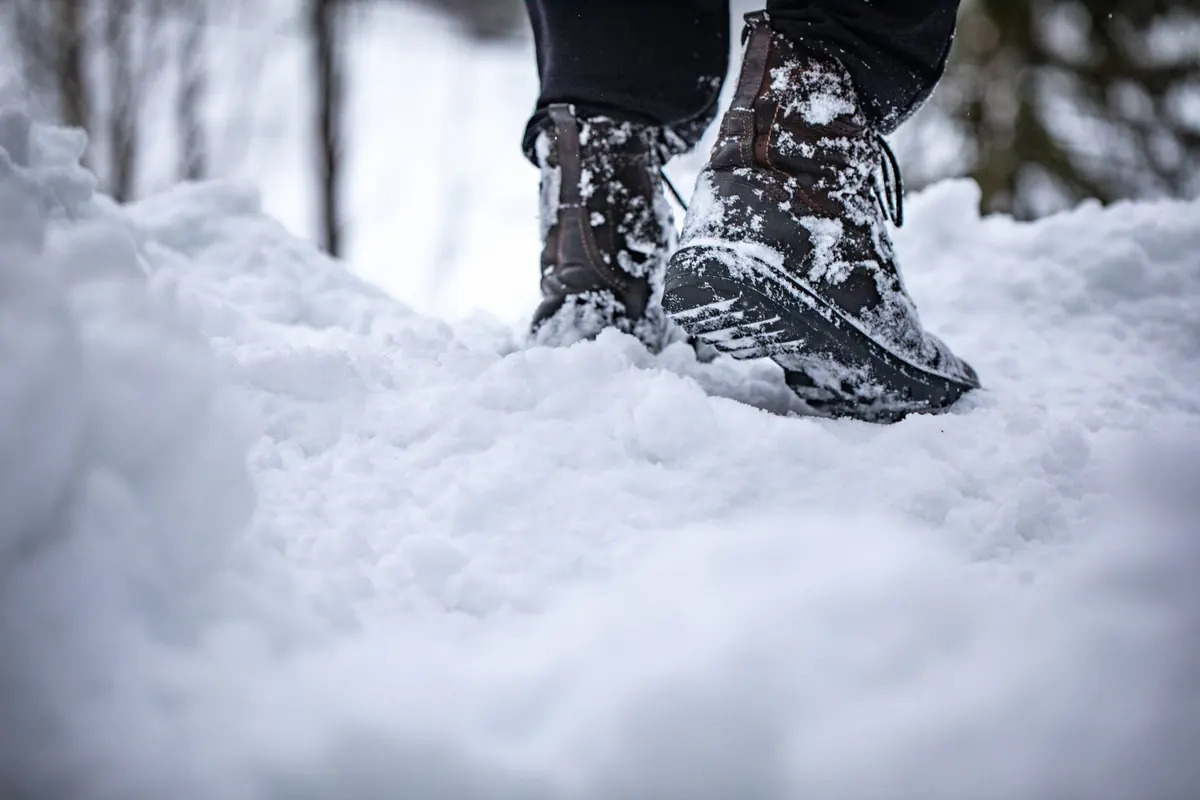
Snow in a village rarely arrives as powder. It comes overnight, gets trampled by six in the morning, thaws near the drain, refreezes by five, and by the weekend the lane to the square is a grey mix of slush, wet cobblestone and patches of ice the colour of old glass. You are not choosing boots for a descent. You are choosing them for four hundred metres to the shop and back, twice a day, for four months.
That changes the list. Most winter boot advice is written with a mountain in mind — stiff soles for edges, tall cuffs for deep snow, warmth ratings for standing around at altitude. Some of it is useful on a village street. Some of it will put you on the ground. Here is how to tell the difference before you spend money.
Walk your usual route in your head and note what you actually cross. Old stone setts polished smooth by a century of feet. Granite kerbs. A steep lane between houses where the sun never reaches and the ice never leaves. The metal drain cover at the corner that is slick in any weather. Grit scattered by the municipal truck, which helps on the road but scratches at boot uppers. And the crossing where slush collects to ankle depth because the camber runs the wrong way.
Each of those asks something different. Polished stone wants soft rubber. Slush wants a gusseted tongue and a waterproof upper. Steep lanes want a heel you can brake with. A twenty-minute walk wants a boot light enough that you aren't lifting a brick with every step. None of them want a ski boot.
A deep lug pattern on hard rubber is a decorative feature. It looks aggressive in the window and behaves like a plastic cutting board on wet stone. What grips ice is a soft compound that deforms into the surface, plus edges to bite with.
Look for lugs around four to six millimetres deep, spaced widely enough to shed slush rather than pack it. Fine diagonal cuts in the rubber — sipes — give the sole extra edges to grip with, and they matter more on icy pavement than a chunky tread does. If you press a thumbnail into a lug and it leaves a dent, the compound is in the right range. If your nail slides off, keep walking.
Studs or carbide tips are worth considering if you live on a steep lane or walk early, before the gritting. Removable studs are the flexible option: screw them in for the bad weeks, take them out for the rest. Bear in mind that metal on polished stone, tile or a shop floor is worse than nothing at all, so a boot you can de-stud quickly, or one with retractable tips, saves you from skating across the entrance of the post office.
Shops rarely encourage this, but a few minutes of testing tells you more than any hangtag.
Village walking is start and stop. You leave a warm kitchen, walk ten minutes, stand in a queue, walk back. Over-insulated boots make your feet sweat in the shop, and damp feet are cold feet for the rest of the day. A boot rated for standing at minus thirty is not a better boot for a walk to the bakery at minus two.
For most valley villages, a moderately insulated boot with a removable liner is the sensible middle. Removable liners dry overnight, which matters more than any rating printed on the box. Wear one pair of wool or merino socks — not two — and make sure the boot fits over that pair. Cotton is the one thing to leave in the drawer; it holds moisture against the skin. If you have circulation problems or a medical condition that affects your feet, ask a pharmacist or your doctor about cold-weather footwear rather than relying on a label.
Slush is the real enemy, not snow. It is wet, it is deep at crossings, and it wicks upward through laces and stitching. A waterproof membrane works, but only if the boot is built around it properly. Full-grain leather, waxed and kept waxed, is the other reliable route, and it ages well if you look after it.
The detail most people miss is the tongue. A bellows tongue — one attached to the upper on both sides — keeps water out when you step into a puddle above the ankle. A loose tongue flaps open at exactly the wrong moment. Check the seams too: sealed or taped is better than a bare stitched line running through the wet zone.
Height should clear the slush line comfortably, which usually means above the ankle. And give the boots ten minutes of care every week or two: rinse off road salt with cool water, dry them slowly and away from a radiator, and re-wax leather while it is still slightly damp. Salt left on leather pulls moisture in and cracks it by February.
Try boots at the end of the day, in the socks you will wear in winter. You want roughly a thumb's width in front of the longest toe, because toes need space to move and stay warm, and because feet spread when you walk downhill. The heel should lift a little, not slide. If you can feel your heel rising out of the boot on a step, you will feel it on every step down the lane.
Two-zone lacing helps: looser across the top of the foot, firmer around the ankle. And pay attention to weight. A heavy boot tires your legs, and tired legs stumble. Ankle support is worth having on uneven cobbles, but it should come from the boot's structure, not from lacing it so tight that your toes go numb.
Good boots do half the work. The other half is how you walk in them. Take shorter steps and keep your weight over your feet rather than reaching ahead. Walk flat-footed on ice, not heel-first. Keep your hands out of your pockets — gloves on, yes, but hands free for balance and for the railing. Use the gritted strip of the lane even if it is the long way round, and take the shaded side of the street seriously, because that is where the black ice lives.
Before you leave, give the soles a look: packed snow in the tread turns any boot into a smoother. Knock it out against the step. Then shut the door and walk as if the street owes you nothing — because in February, it usually doesn't.
Photo: iddea photo / Pexels
Avalanche bulletins aren't just for skiers. Here's how to read the danger rating, elevation bands, slope...
Early-season snow reshapes Alpine village life fast — road crews, seasonal jobs, water reserves and old...
A first-person account of reaching an Alpine refuge as snow closes in, from the boot room and communal...