Beginner's Guide to Reading Avalanche Bulletins for Non-Skiers
Avalanche bulletins aren't just for skiers. Here's how to read the danger rating, elevation bands, slope...

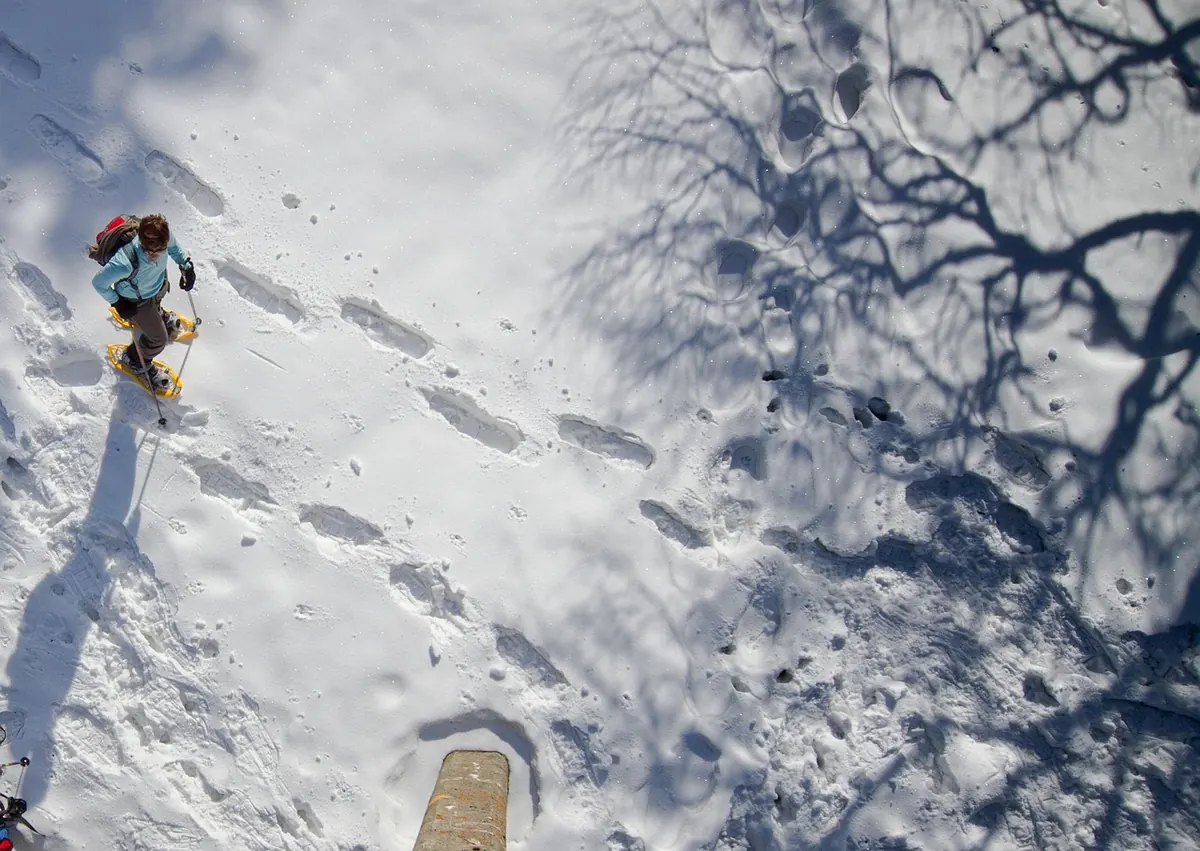
Snowshoes look like the simplest piece of winter gear ever made: strap them on and walk. That is mostly true, which is exactly why so many first-timers end up sweaty, off route, or soaked to the knees within an hour. The shoes handle flotation well enough. Everything else — layers, route finding, footwork, the small things rattling around in your pack — is where beginners lose their footing. None of these mistakes are serious, and almost all of them are fixed before you leave the trailhead.
The most common first-timer error happens in the parking lot, before anyone takes a step. You dress for the temperature you feel standing still, then five minutes up the trail you are sweating through a base layer, a sweater, and a jacket. Sweat is the problem: wet clothing loses its insulating value fast, and the moment you stop for a snack you go from overheated to genuinely cold.
The fix is to start slightly cool and adjust within the first fifteen minutes. If you are not a little chilled at the trailhead, you are wearing too much. Strip down before you get wet, not after.
On breaks, put the puffy on immediately — before you feel cold. Your body cools quickly once you stop moving, and a dry insulating layer over a damp shirt is the difference between a pleasant rest and a shivering one.
A packed line of footprints feels like proof that someone knows where they are going. Sometimes it is. Sometimes it is a group that wandered into a drainage, or a shortcut that cuts across a lake edge you would rather not test. Snow buries many summer trail blazes, and trail junctions that were obvious in July become a wide white space with a single set of prints heading off at an angle.
Before you go, look at the route on a map or a trail app and note the junction points, the direction of travel, and roughly how long the route should take. On the trail, watch for blazes on tree trunks, plastic ribbon, or marker posts, and check them against your plan rather than assuming the track is correct. If the footprints veer off and the markers continue straight, follow the markers.
Two habits make the biggest difference: tell someone at home where you are going and when you expect to be back, and carry a headlamp even on a short morning walk. Winter light goes early and fast, and a route that took forty minutes uphill can take twice that coming down.
Snowshoes float, but they do not keep snow off your ankles. Every step throws a small scoop of powder up and over the front of the shoe, and without gaiters it lands inside your boot cuff, melts against your sock, and turns your toes cold within the hour. A pair of simple mid-height gaiters is one of the cheapest, most useful pieces of winter kit you can own.
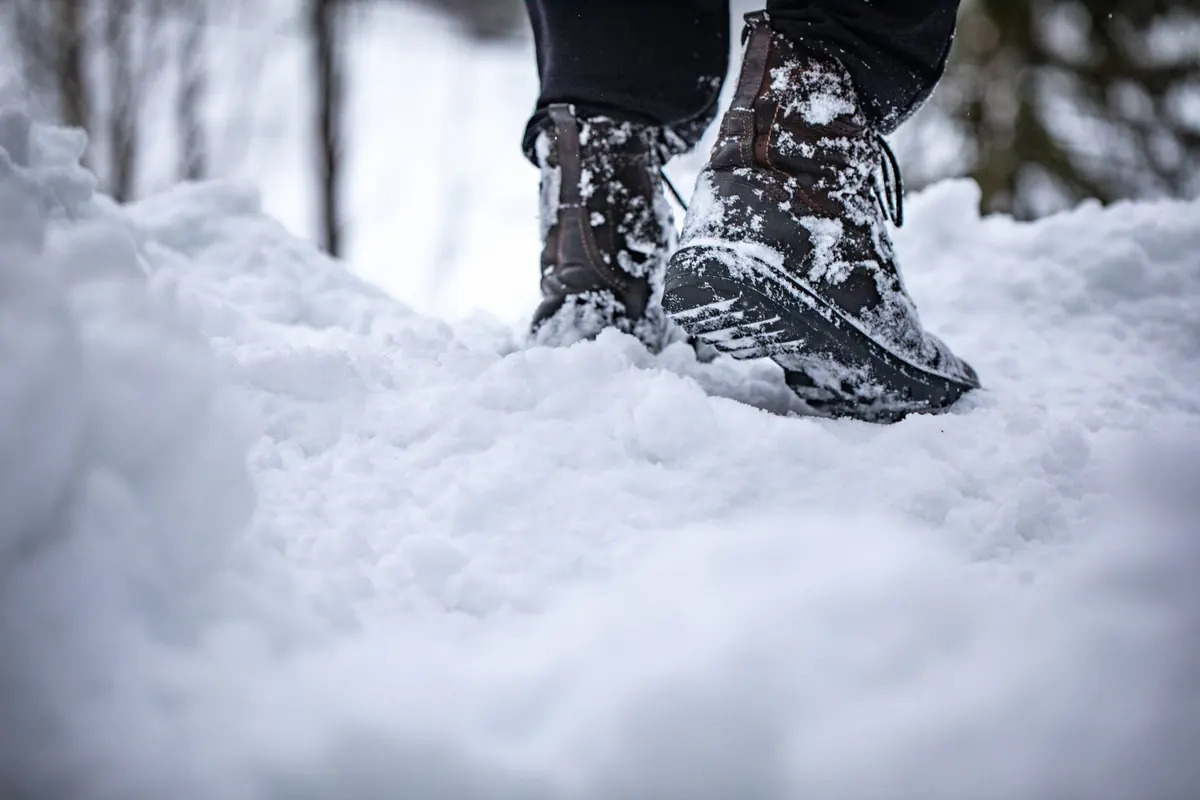
Footwear matters just as much. Running shoes, sneakers, and thin summer hikers get wet and stay wet. Use waterproof boots with a little insulation, room for a wool sock, and a sole that fits the snowshoe binding securely. Skip jeans — once denim gets wet it stays wet and stops keeping you warm. Softshell or synthetic trousers with a wool or synthetic base layer underneath are far more comfortable, and they dry quickly.
Add adjustable poles to the list. They take a lot of the balancing work on uneven ground, save your legs on the climbs, and give you something to lean on when you stop to check the map.
New snowshoers tend to walk exactly as they do in the city, and then wonder why the frames clatter together and the tips catch. Two small changes fix most of it: widen your stance slightly so the shoes clear each other, and take shorter steps than feels natural. Lift your toes a little on each step so the front of the frame rides over the snow rather than digging in.
The teeth under the frame — the crampons — only work when you put weight on them. On a climb, press your heel down and let the teeth bite; many modern shoes also have a heel lift bar that flips up to save your calves on steeper sections. On a traverse across a slope, edge the uphill side of the shoe into the snow and keep your weight over your feet. On the way down, shorten your stride further and stay centered rather than leaning back.
To turn around, step in a small circle rather than trying to pivot in place. Forcing a twist usually ends with a crossed tip and a face full of snow.
Short steps, wide stance, weight on the teeth. Almost every snowshoe problem on a slope comes down to one of those three.
A four-mile walk on a summer path and a four-mile walk in snowshoes are not the same outing. Even on a packed trail you move slower; breaking trail through fresh snow can take two or three times as long as the map suggests. First-timers often plan by distance, run out of daylight, and finish the last stretch tired and rushed.
Plan by time instead. Decide on a turnaround hour before you start — for example, "we turn around at 2 p.m. no matter where we are" — and stick to it. Choose a modest first route: a flat or gently rolling trail of a couple of hours, with a clear bail-out back the way you came. Save the longer loops and the steeper climbs for your third or fourth trip, once you know how your body and your gear handle a winter pace.
Because snowshoeing feels like a walk rather than a mountain day, packs are often too small and too empty. Cold air blunts thirst, so people drink far less than they should, and a water bottle left in the pack without insulation freezes solid. Pack for a longer, colder, slower version of the day you are imagining.
Finally, check your gear at home rather than at the trailhead. Fit the bindings to the boots you will actually wear, make sure the straps are soft and not cracked, and confirm the crampons are intact. Rental shoes deserve the same quick look. Ten minutes in a warm hallway beats twenty minutes of fiddling with cold fingers in the wind.
Most of the mistakes above are solved by a short pause before you start walking. Read the trailhead sign and compare it with your plan. Set your turnaround time out loud so everyone hears it. Take off a layer before you set out, put the gaiters on properly, and tighten the bindings with the boots seated firmly in place.
Then walk slowly for the first ten minutes. Let your body warm up, let the group settle into a pace, and get used to the wider stance and the sound of the shoes. Snowshoeing rewards patience far more than effort — the people who enjoy it most are usually the ones who started gently, kept their layers dry, and turned back while everyone still had energy to spare.
Photo: adege / Pixabay
Avalanche bulletins aren't just for skiers. Here's how to read the danger rating, elevation bands, slope...
Early-season snow reshapes Alpine village life fast — road crews, seasonal jobs, water reserves and old...
A practical guide to picking winter boots for icy, slushy alpine village streets — grip, insulation,...